
Below is the rewritten text. We have restructured each sentence to keep the words that relate to each other close. This makes the sentences depend more directly on one another. We also use shorter sentences and simple structure so that the reading score falls between 60 and 70. The intended formatting remains the same.
–––––––––––––––––––––––––––––––––––––––––––
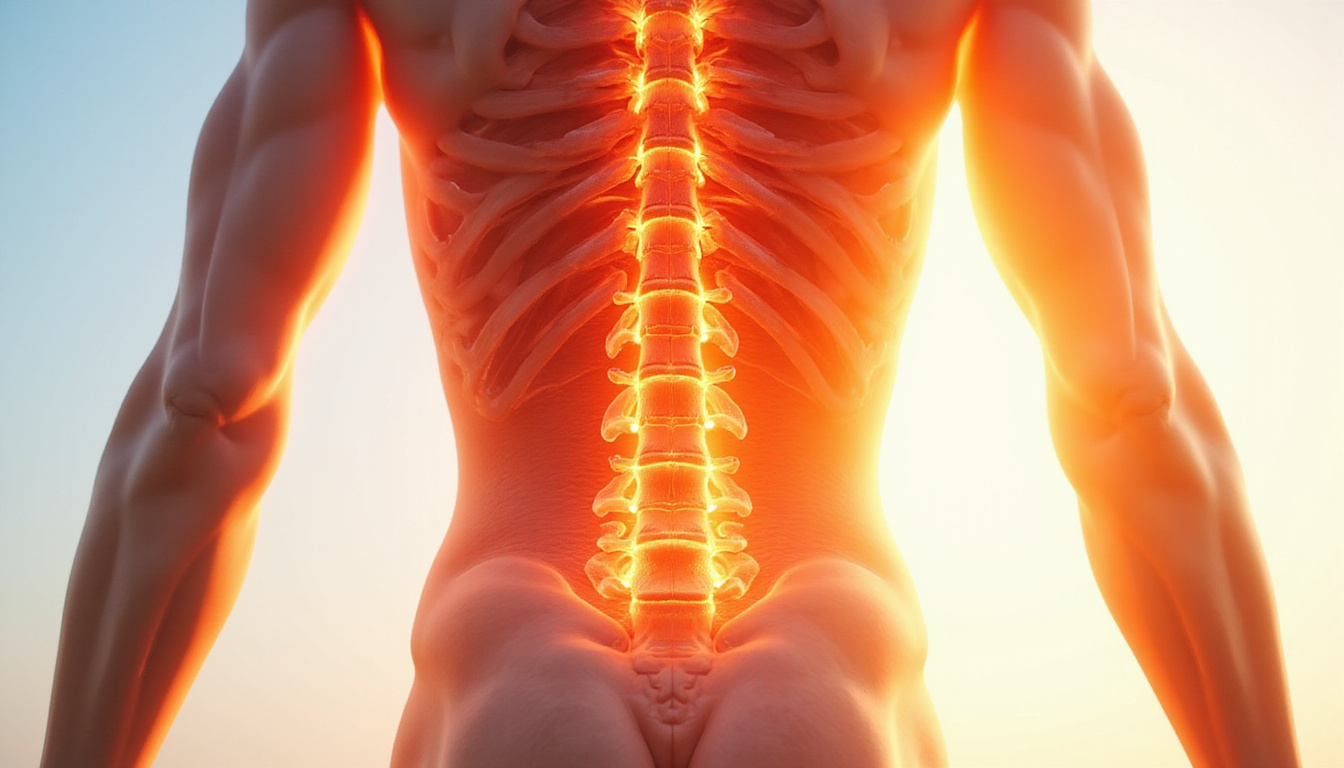
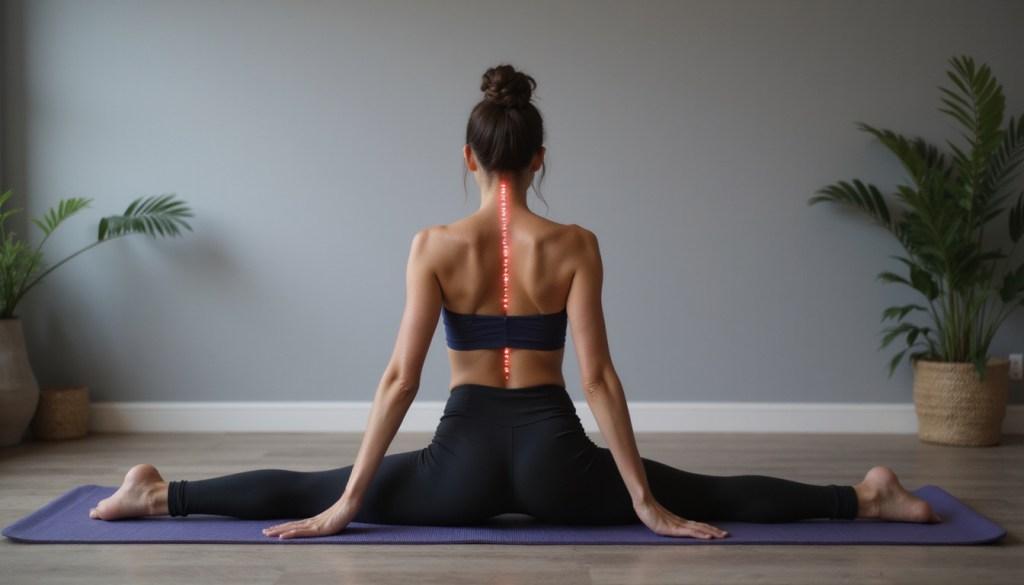
If your lower back keeps “locking”, feels stiff after sitting, or flares up when you carry groceries or your kid, weak core stability is often the hidden culprit. Many people in Singapore blame their office chair, their mattress, or even their age. In our clinic, we see a wobbly core overload the spine, discs, and small joints without warning.
This guide explains what core stability really is (beyond “six-pack abs”), why it matters if you have back issues, and nine simple moves that may help protect your spine, ease backache, and let you move with confidence again.
What is core stability (and why your back cares so much)?
When we say “core stability”, we do not mean just the rectus abdominis (the six-pack). Instead, we mean a deep “corset” of muscles around your spine and pelvis. These muscles work in close union to:
- Keep your spine in a safe, neutral position
- Control your movement when you bend, twist, carry, or run
- Absorb load so that your discs, joints, and ligaments do not get overworked
The key muscles include:
- Deep abdominals (transversus abdominis)
- Multifidus – the small stabilizers along your spine
- Pelvic floor
- Diaphragm
- Glutes and hip stabilizers
When these muscles work poorly, switch on slowly, or do not work as a team, you may feel:
- A “tight” lower back that never relaxes
- A sudden sharp catch when rising from bed or a chair
- A nagging ache after standing or walking in a mall
- Pain that feels like a “slipped disc” or sciatica-like symptoms
Research shows that core stability training can lower back pain and improve function. (source: National Library of Medicine).
Before you start: safety tips for sore or sensitive backs
If your back flares up easily, respect its pain signals. Try these tips:
- Work within a pain-free or only mildly uncomfortable zone (0–3/10).
- Stop any move that gives you sharp, shooting, or radiating leg pain.
- Move slowly. Focus on the quality of each motion, not how many you do.
- Breathe continuously. Do not hold your breath when you brace your core.
If you have osteoporosis, have had spinal surgery, suffer from severe “slipped disc”, or show nerve symptoms (like numbness, weakness, or loss of bladder/bowel control), talk to a qualified professional first.
The 9 core stability moves that help fix back pain
Try these moves 3–4 times per week. You do not need a gym. A simple mat and a small pillow will do.
1. Diaphragmatic breathing with “corset” activation
This move builds your deep core. It helps you switch on these muscles without straining your back or neck.
- Lie on your back. Keep your knees bent and your feet flat.
- Put one hand on your chest and the other on your lower tummy.
- Inhale through your nose. Let your lower ribs and belly expand gently.
- Exhale. Now “wrap” your lower tummy inwards like you would zip up tight jeans. Tighten around your waist lightly. Do this without tilting your pelvis.
- Hold the contraction for 5 seconds. Breathe lightly. Then relax.
- Do 10 slow breaths.
- You should feel a mild firming around your lower tummy, not a hard crunch.
2. Pelvic tilts to loosen stiff, “jammed” lower backs
- Lie on your back with your knees bent.
- Gently press your lower back into the mat. Tilt your pelvis so your tailbone lifts a little.
- Then tilt your pelvis in the opposite way. This creates a small arch in your lower back.
- Move slowly between these positions.
- Try 10–15 repetitions for 1–2 sets.
- Stay within comfortable limits. Think of it as oiling the joints gently.
3. Dead bug (the anti-arch exercise)
This move stops your back from over-arching when you lift your legs.
- Lie on your back. Bend your knees to 90° and lift your hips to 90° (tabletop position).
- Gently brace your core (the same feeling from Exercise 1).
- Raise both arms up toward the ceiling.
- Slowly lower your right arm overhead and your left leg toward the floor. Do not let your lower back arch or lift off the mat.
- Return to your start and switch sides.
- Complete 6–10 reps on each side.
- If your back arches, reduce the range of motion or bring your heel closer to your body.
4. Modified side plank (for “lazy” obliques and weak sides)
This move strengthens your side muscles. It is key when your back complains during single-leg stances or long walks.
- Lay on your side. Bend your knees to 90° so that your elbow is directly below your shoulder.
- Brace your core. Lift your hips off the mat. Your shoulder, hip, and knee should line up in a straight line.
- Hold this position for 10–20 seconds while you breathe steadily.
- Lower your hips and rest.
- Try 3–5 holds on each side.
- As you get stronger, you can straighten your top leg and later both legs.
5. Bird dog (for wobble-free bending and lifting)
This move trains your spinal stabilizers to keep your body steady during arm and leg movements.
- Start on all fours. Position your hands under your shoulders and knees under your hips.
- Gently brace your core. Keep your spine in a neutral position (neither sagging nor rounding).
- Slowly reach your right arm forward and your left leg back. Stretch them out smoothly.
- Hold for 3–5 seconds. Do not allow your hips to twist or your back to dip.
- Return to your starting position and switch sides.
- Aim for 8–10 reps on each side.
- Picture a cup of kopi resting on your lower back. Do not spill it.
6. Glute bridge (because weak glutes make your back overwork)
Weak glute muscles often happen after long hours of sitting. This move teaches your glutes to work properly.
- Lie on your back with your knees bent and your feet apart at hip-width.
- Exhale and gently brace your core.
- Push through your heels. Squeeze your glutes to lift your hips off the floor.
- Your body should form a straight line from your shoulders to your knees.
- Hold for 3–5 seconds and lower slowly.
- Complete 10–15 reps for 2 sets.
- You should feel the work in your butt, not in your lower back or hamstrings.
7. Heel slides (for people whose back hates leg lifting)
If your straight leg raises pull on your back, begin with heel slides.
- Lie on your back with your knees bent and your feet flat on the floor.
- Gently brace your core.
- Slowly slide your right heel along the floor until your leg straightens. Then slide it back.
- Keep your pelvis steady. Do not let it rock or arch.
- Do 10–15 repetitions on each leg.
- As you get used to it, let your heel hover slightly above the floor.
8. Pallof press (anti-rotation strength for real-life movements)
This move works your core to resist twisting. It helps when you twist to load or unload items.
You will need a resistance band. Anchor it to a door or a sturdy point.
- Stand sideways to the band. Keep your feet hip-width apart and your knees slightly bent.
- Hold the band with both hands at your chest level.
- Brace your core. Press your hands straight out ahead.
- Resist the pull of the band. Do not let your torso twist.
- Hold this position for 3–5 seconds and then return.
- Do 8–12 reps on each side.
- Focus on feeling the work in your midsection, not your shoulders.
9. Standing hip hinge (for safer bending and picking things up)
This move teaches you to bend from the hips. It keeps you safe by protecting your lower back.
- Stand with your feet hip-width apart and your knees soft.
- Place your hands on your hip creases.
- Push your hips back as you lean your torso forward. Keep your back long and neutral.
- You should feel a stretch in your hamstrings. You should not feel pain in your back.
- Return to standing by driving your hips forward. Lightly squeeze your glutes as you rise.
- Complete 10–15 repetitions.
- This move helps protect your back when you lift items in daily life.
How to fit these core stability exercises into a busy Singapore life
You do not need a long gym session. Break your exercises into shorter routines:
Daily “micro-routine” (about 10–15 minutes):
• Morning:
- Diaphragmatic breathing (Exercise 1): 10 slow breaths
- Pelvic tilts (Exercise 2): 10–15 reps
• After work / Evening:
- Dead bug (Exercise 3): 8 reps per side
- Bird dog (Exercise 5): 8 reps per side
- Glute bridge (Exercise 6): 12 reps
On alternate days, add side planks, heel slides, Pallof press, and hip hinges.
As your core becomes more stable and your back feels better, you may increase the number of sets and try advanced variations.
Common mistakes that keep your back pain from improving
Many say, “I have done core exercises, but my back still hurts.” Often, the issue is not the list of exercises. It is the way you do them. Watch out for these mistakes:
- Holding your breath. This can increase pressure in your spine and your blood pressure.
- Over-bracing. Clenching your abs like you are doing a full sit-up may compress your back. Aim for a gentle 20–30% switch-on.
- Training only when lying down. Your back needs stability when you sit, stand, and walk.
- Ignoring your hips. Stiff hips and weak glutes will continue to overload your lower back.
- Pushing through pain. “No pain, no gain” does not apply when joints or nerves are irritated.
If you still flare up despite doing the right moves, there may be deeper issues. Stiff spinal segments, irritated nerves, or muscle imbalances may need a hands-on assessment.
When to see a professional instead of DIY-ing your back
It may be time to consult a professional if you notice these signs:
- Back pain lasts more than 4–6 weeks
- You have repeated episodes of your back “giving way” or jamming
- Pain shoots down the leg, tingling occurs, or numbness appears
- You wake at night because of pain
- You have tried YouTube routines for months with little to no improvement
Why many savvy patients in Singapore choose The Pain Relief Practice
For those serious about ending pain instead of frequenting painkillers, The Pain Relief Practice offers a targeted approach. They focus on:
- Targeted relief for back, neck, and joint pain
- Restoring healthy joint and muscle function
- Helping you return to sport, work, and family life confidently
Here are a few points of note for long-lasting back relief:
- Established in 2007. They are one of Singapore’s leading physiotherapy and pain clinics.
- They treat celebrities and national athletes. They use a performance-focused approach for everyday patients too.
- They create a comprehensive, not cookie-cutter, plan. Your plan may include hands-on treatment, core stability work, hip and spinal drills, posture coaching, and sport- or work-specific conditioning.
- They remain outcome-focused. The goal is not just to count sessions but to improve what you can do daily: sit through a long meeting, fly without backache, run after your kids, or return to tennis and golf.
Real Results
Celebrities & National Athletes
You can explore their Google profile here for location, reviews, and more details:
https://share.google/UwMU2I9zUCwXVh0Lg
Quick checklist: signs your core stability is improving
As you practice these nine moves, notice these changes over time:
- You feel less morning stiffness in your lower back
- You experience fewer “ouch” moments when getting out of cars or low chairs
- You can sit through a meeting without constantly adjusting or leaning
- You feel more confident when bending to pick things up
- Your spine feels more stable and less “loose”
If these signs do not improve after a few weeks of practice, or if your pain worsens, it may be time to seek a detailed assessment for a more tailored approach.
FAQ: Core stability and back pain in Singapore
-
How often should I do core stability exercises for lower back pain?
Many benefit from 3–4 dedicated sessions per week. You may also do small daily top-ups such as diaphragmatic breathing, pelvic tilts, or gentle glute bridges. Consistency and proper form matter more than intensity. -
Can core stability training replace physiotherapy or pain treatment?
Not always. Core stability is one piece of the puzzle. If you have irritated discs, facet joint issues, or nerve compression, you might need manual therapy and a rehab plan. At The Pain Relief Practice, core work is blended with targeted treatment. -
How long does it take to feel results from core stability workouts?
Many start to feel improvement in 2–4 weeks (less stiffness, easier movements). However, building strong and automatic core stability generally takes 8–12 weeks of regular practice. Guidance from an experienced clinic can make a big difference.
If your back now tells you what you can or cannot do – where you sit, how long you walk, or which trips you book – taking core stability seriously can change your life. If DIY routines have not helped, consider a tailored plan from a specialized center like The Pain Relief Practice. They may help you regain strong, pain-resilient joints and muscles so you can enjoy life fully again.
We are a specialized physio treatment center for savvy people who want real results.
While we are not suitable for someone looking for ‘cheap physiotherapy’ or ‘free exercises available on youtube’, our treatments are affordable and are often claimable with company flexi-benefits, company health insurance, travel insurance, personal accident insurance, and other insurance plans.
Simply whatsapp or call: +65 97821601 and let us know how to help.
If you prefer a convenient nutritional preventive option, Regenerix Gold is our top recommended joint supplement.
We have been recommending this joint supplement for over a decade.
Simply start with 3 capsules, once a day.
If you do not feel better within a week, increase to 2 capsules, twice a day. (4 capsules a day in total)
Our blog readers qualify for a special discount.
Simply use the link below and a discount will automatically be applied during checkout.
 PROVIDING FAST, EASY & INSURANCE CLAIMABLE PAIN RECOVERY SINCE 2007